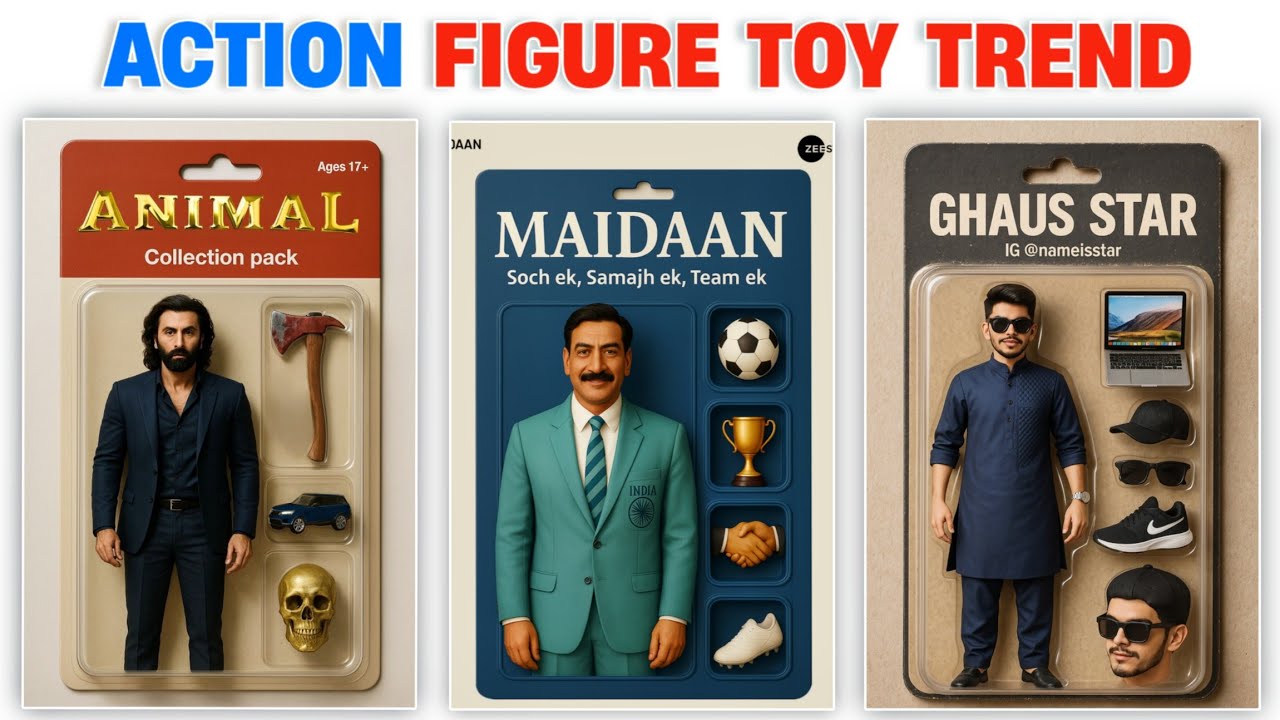
In today’s digital age, eye-catching visuals are key to grabbing attention on social media. One trending niche is toy photography—creative images of action figures, dolls, or miniature models in dynamic, lifelike scenes. Thanks to AI-powered tools, you can now generate stunning, viral-worthy toy figure photos without expensive equipment or professional editing skills.
In this guide, we’ll explore how to use AI to create hyper-realistic, cinematic, or whimsical toy photos that stand out on Instagram, TikTok, and other platforms.
Why Use AI for Toy Photography?
Traditional toy photography requires:
✔ A high-quality camera
✔ Lighting setups
✔ Backdrops & props
✔ Advanced photo editing (Photoshop)
AI simplifies this process by:
✅ Generating realistic or fantastical backgrounds instantly
✅ Enhancing small details (lighting, textures, shadows)
✅ Adding special effects (explosions, smoke, motion blur)
✅ Automating tedious editing tasks
With AI, even beginners can create professional-looking toy photos in minutes.
Best AI Tools for Toy Figure Photography
1. MidJourney / DALL·E (AI Image Generation)
These tools can generate entire scenes based on text prompts. For example:
- “A sci-fi battle scene with action figures, dramatic lighting, and explosions, hyper-realistic, 4K”
- “A tiny astronaut figure on a toy spaceship, cinematic lighting, bokeh effect”
Tip: Use reference images of your toy for more accurate AI generations.
2. Adobe Firefly (AI-Powered Photo Editing)
Firefly’s Generative Fill and AI Enhance features help:
- Remove unwanted backgrounds
- Add realistic shadows & reflections
- Upscale low-quality images
3. Luminar Neo (AI Photo Enhancement)
This tool offers one-click AI enhancements like:
- Sky replacement (for outdoor toy scenes)
- Realistic light effects (sun rays, neon glows)
- Depth-of-field adjustments
4. Canva AI (Quick Social Media Designs)
For quick edits, Canva’s AI tools can:
- Generate themed backgrounds
- Apply filters & effects
- Add text overlays for storytelling
Step-by-Step: Creating Viral AI Toy Photos
Step 1: Capture a Clean Base Photo
- Use a plain background (white/black) for easy AI editing.
- Ensure good lighting (natural or softbox lights).
- Shoot from dynamic angles (low or Dutch angles for drama).
Step 2: Use AI to Generate or Enhance the Background
- Upload your toy photo to Adobe Firefly or Luminar Neo and replace the background.
- Alternatively, generate a custom scene in MidJourney and composite your toy into it.
Step 3: Add AI Effects & Enhancements
- Apply motion blur for action shots.
- Use AI upscaling for sharper details.
- Add glows, lens flares, or particle effects for extra impact.
Step 4: Final Touches for Social Media
- Use Canva AI to add captions or stylized text.
- Apply color grading for a cinematic look.
- Experiment with AI-powered filters for a unique style.
Ideas for Viral AI Toy Photos
- “Miniature Adventure Scenes” (e.g., a toy dinosaur in a jungle)
- “Superhero Battles” with dynamic AI-generated explosions
- “Toy Figures in Real-World Settings” (e.g., LEGO characters in a coffee shop)
- “Fantasy & Sci-Fi Mashups” (e.g., Star Wars figures in a cyberpunk city)
Conclusion
AI is revolutionizing toy photography, making it easier than ever to create stunning, shareable images. By leveraging tools like MidJourney, Adobe Firefly, and Luminar Neo, you can turn simple toy photos into viral-worthy artworks—no expensive gear required.